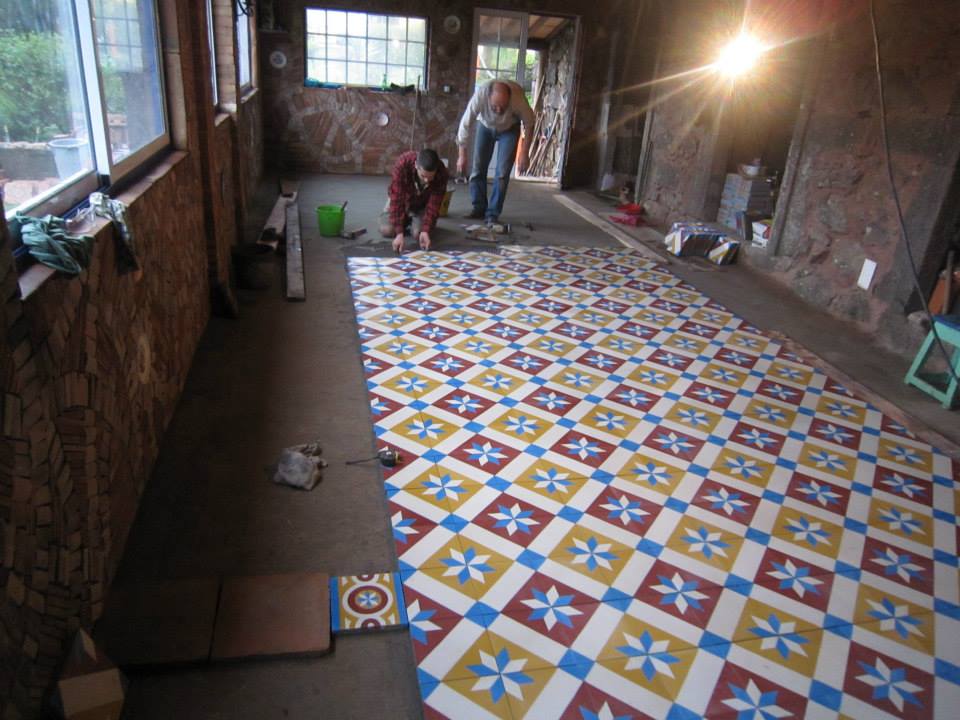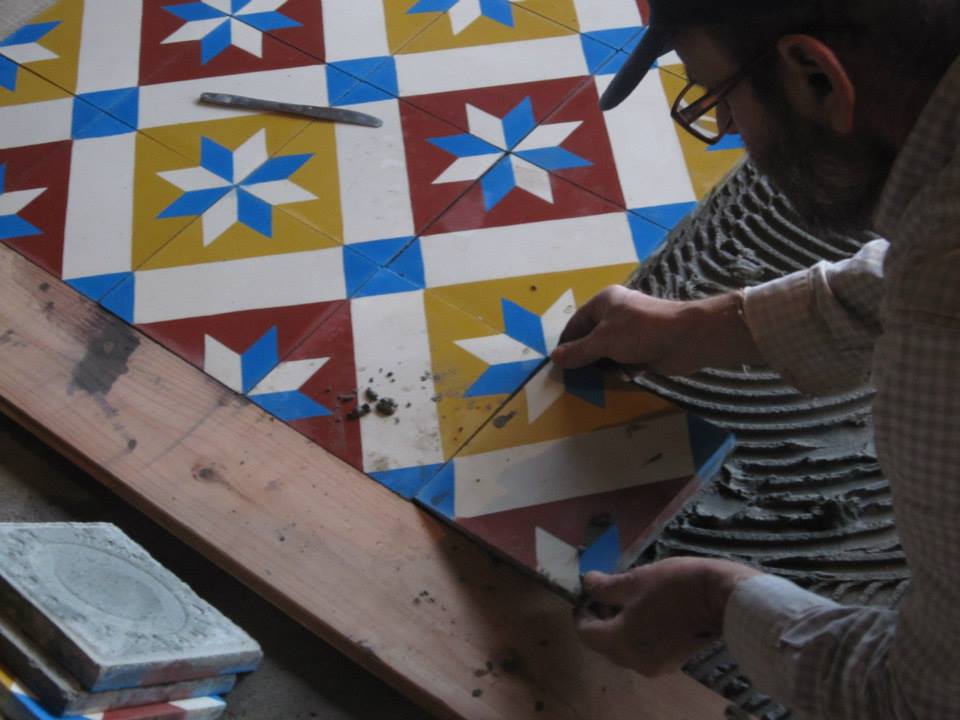

The placement process that we recommend is simple, clean and fast.
We recommend also hiring a professional applicator.
1 PREPARATION OF THE SURFACE
Prepare a perfectly level surface of concrete or self-leveling cement, leaving a reserve of height 24 mm to glue the tiles (20 mm for the mosaics, 4mm for the glue cement).
Wait for the surface to dry completely, otherwise the moisture will evaporate through the mosaics depositing patches of saltpeter.
If the chosen design is a traditional rug style start by disposing the center, then the surrounding tiles and then finally the plain mosaics from the exterior part with the cutouts till wall.
2 PREPARATIONS OF THE MOSAICS
Clean and moisten the bottom face (gray) of the mosaic in order to facilitate the adherence of the cement paste.
Clean also the side faces to ensure a perfect junction.
To cut the tiles use a diamond disc.
3 APPLICATION OF CEMENT GLUE
Apply the concrete glue evenly to the surface with the aid of a wide jagged trowel.
Also apply the concrete glue on the underside of the tile (double bonding)
4 PLACING
Place the tiles and level them very carefully, one by one, pressing them with the palm of the hand. Hammering vigorously with a rubber mallet surely cause the gradual appearance of micro cracks.
The mosaics are placed:
Leaving no joint between tiles(dry joint or minimum joint – the variation
Between two tiles is + / – 1 mm);
Well aligned (to respect the drawing);
Perfectly leveled (the mosaics can not be polished -tolerated difference in thickness is
+ / – 1 mm this is compensated with the glue cement).
We flatly discourage the placement of the mosaics directly on top of a fresh cement screed. In this case, the result over time will be, almost certainly, uneven mosaics, with lack of adequate support or hollow.
5 JOINTS
The space (very thin) between the tiles is filled with a paste of cement for joints, which is applied with a trowel.
With the plain floor tiles you may pigment the joint cement paste to approximate the color of the mosaics. When it is mosaics with drawing you should not use pigmented cement paste for the joints.
Excess jointing paste should be eliminated immediately with a damp cloth.
6 Cleaning during the work
Clean immediately with a damp cloth the remains of cement or dirt from work, so they do not adhere to the mosaics.
The patches of dry cement are removed by sanding gently with water sandpaper No. 600.
7 DRYING
Allow the finished floors to dry well.
Do not step on the tiles before the cement glue is fully dry.
Drying will take several days, depending on weather conditions.
After complete drying the tiles will recover the original color.
8 TREATMENT/PROTECTION
Once the surface is completely clean and dry, and using a brush, apply the Zorpit-PGM water/oil repellent protector, which, without altering the appearance of the material, prevents moisture absorption and the appearance of stains. Wait 24 hours and apply a second coat of the product. This treatment prevents the deep penetration of organic substances without altering the original appearance of the Mosaic.
9 DAILY CLEANING
You should only use neutral detergents. Industrial products, acids or alkalines, may irreparably damage the mosaics, leading to changes or loss of color.
The Hydraulic Mosaic floor can be cleaned with a cloth or soft brush with water and neutral soap (green or blue soap, marble products).
The colorless wax protects and gives shine to the mosaics but does not clean and builds up in successive layers if not stripped.

