
The Santa Catarina roof tile is not a fitting roof tile, it is a very simple tile, which requires special attention at the time of placement. Nowadays this roof tile is usually applied directly on a sub-rooftile or on a properly insulated surface. This way, the roof will be totally protected from rain and moisture.
However, the placement of the roof tile tile must respect some aspects:
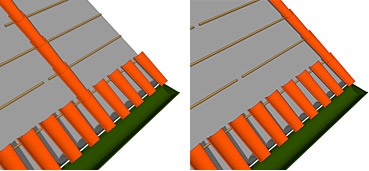
The placement starts with the lower tiles (channels); according to the shape of the roof it may be more convenient to place the middle row instead of the right end row as shown in scheme 1.
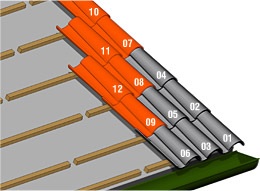
The placement of covers (upper tile) is carried out according to the image shown in scheme 2: the placement of the roof tiles is made from right to left and from bottom to top. This is the most appropriate way to proceed, allowing slight adjustments and at the same time understanding how the roof will develop. The placement of the tile in this way facilitates the alignment of the several rows, according to the way the roof develops.
Note that in the execution of roofs inclined at more than 30% and/or exposure to strong winds, the tiles must be fixed to the base at a ratio of one in every four roof tiles. If the slope has values greater than 40%, then all roof tiles must be fixed.
The fixation can be made with clips, self-tapping screws, glue or cement, depending on the type of support. However, we recommend using a weak mortar, prepared as follows: for each cubic meter of dry sand use one of the following options:
- 250 – 350 Kg of hydraulic lime or
- 150 Kg of cement and 175 – 225 Kg of hydraulic lime
Note: Screw or nail fixation requires the tile to have a pre-hole, which normally Santa Catarina roof tile don’t have.
Rooftop
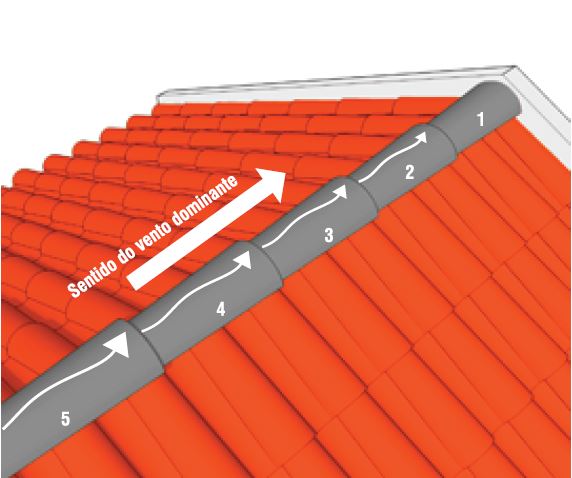
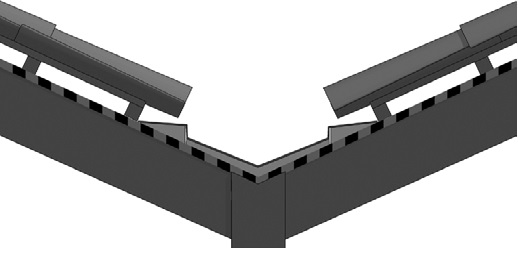
It is the roof tile that closes the roof, applied in the union of two slopes and fixed with cement, according to the image shown in scheme 3:
Eave Tiles
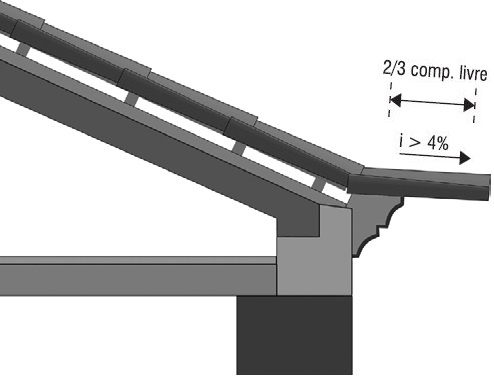
The eave roof tiles (covers and spouts) are applied on the edge or wall, using mortar. It is important to respect the following:
- Tilting that the tiles must have in relation to the horizontal plane of the roof, minimum 4% – scheme 4
- Free dimension of the roof tiles, that is, dimension that should not be supported on the frame/wall, maximum 2/3 of the length of the edge.
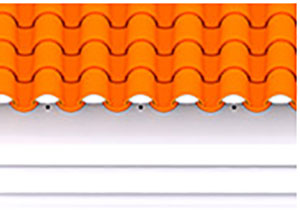
- Execution of ventilation holes that allow ventilation of eaves as shown in the schemes 5 and 6.
Gutter
It is the convergence of two slopes, thus becoming a compromised area of the roof, when incorrectly executed. The execution of a gutter requires the use of metallic ruffles, asphalt bands or other synthetic materials, which are supported on the profile, usually executed in mortar.
As these are sensitive areas of a roof, it should be given special attention to the following three principles:
1º The cutting of the tiles, so as to cover the gutter by at least 8 cm, according to scheme 7.
2º Material applied for the execution of the gutter: the material to be used in the gutter must guarantee a long durability. Generally are used metallic or synthetic materials.
3º Method of application of the material: since this is a critical area, careful attention should be paid to the application of the material, otherwise there will be no effective drainage of the water in this area..

